


Things to remove, engine mounts, starter motor and alternator
- CTRMint

- Oct 27, 2018
- 2 min read
This blog entry is pretty simple.
Removing the engine mounts is recommended as it provides that additional clearance when fitting the engine, I also suspect it’s beneficial not having them protruding just waiting to attack the bodywork skin.
Removal is pretty straight forward, just remove the bolts, Caterham ship the bolts in a pretty slack state so there is no need for a big bar or anything.
I decided to apply labels to each mount to illustrate which each mount was and their respective orientation. I figured the engine fitment was going to be a challenging environment and possibly pressured, having the orientation clearly marked is one less thing to think about. Forward thinking I hope will pay off.


Next up was the starter motor. The starter motor needs to be removed to permit removal of the bell housing later on. It's also pretty simple to remove. Carefully remove the nuts securing the red and black cables to the rear of the motor and disconnect the cables, then store the nuts securely by adding back to their original locations. At this point remove the outward facing bolts two of which secure the starter motor to the block. The starter
motor is on dowels so might be slightly reluctant to just drop off, but will separate with ease.


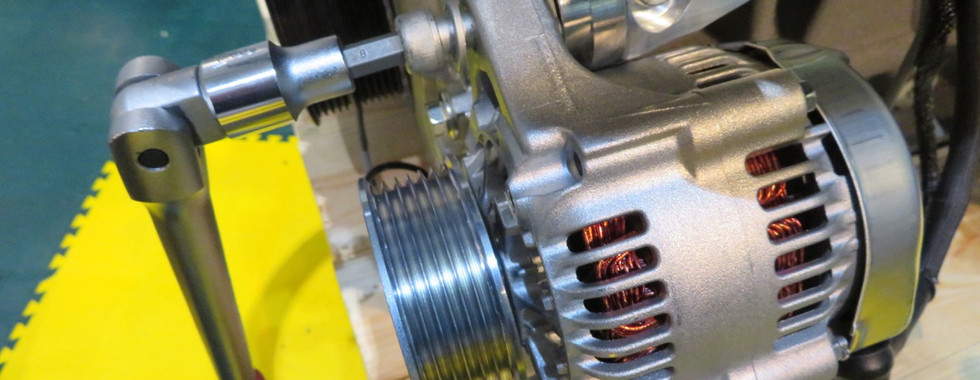
Lastly the alternator.
Obviously you need to remove the belt to do this, that's easy just put a spanner/socket on the top tensioner puller and twist anti-clockwise. It will rotate and move left releasing the belt. Next unplug the electrical connector from the alternator. I decided to unbolt the connector in the black cover too. I'm not sure if this is the best or even only approach but again it worked for me. Then unbolt and remove the alternator. It is pretty simple. To be honest this was the first time I'd ever worked on an alternator or it's belt and it went OK, I'm pretty confident it's all good too.


Comments