


Alloy wheel armour
- CTRMint

- Apr 20, 2019
- 3 min read
During the recent work to resolve the stuck fuel gauge, I had a need to place the rear of the 7 on axle stands and remove the rear nearside alloy wheel. Since the wheel was off the car I decided to utilize the opportunity to start the process of protecting the alloy wheels. I had originally planned to do this before driving the car, but in the mad rush to get the car on the road the task had been put to one side. Now was the time to start.
The first step was to give the alloy wheel a careful clean using Autoglym Bodywork Shampoo Conditioner using an old wash mitt and detailing brush.

I'd normally treat the wheel first, but since these were brand new wheels with hardly any mileage I didn't expect much in the way of dirt. Sure enough, the wheel came up spotless with just the shampoo. Given my plan was to protect the wheel I needed it absolutely devoid of any dirt or grease so I followed up the shampoo with Poorboys Spray & Rinse Wheel Cleaner. The product was librally sprayed onto the rim and tyre including inside the barrel and then left to dwell for about 20 seconds. I then used the detailing brush to lightly remove any remaining contamination from the wheel. The wheel was then given a thorough rinse to remove any traces of the product.

A second coat was then applied to the tyre sidewall and again agitated with the brush until I was confident all dirt and grease had been removed.

Once the cleaning process was completed a brand new but cheap microfibre towel was used to dry off the wheel and avoid any water spots, the wheel was then left for a couple of hours in the sun to ensure it was properly dry.

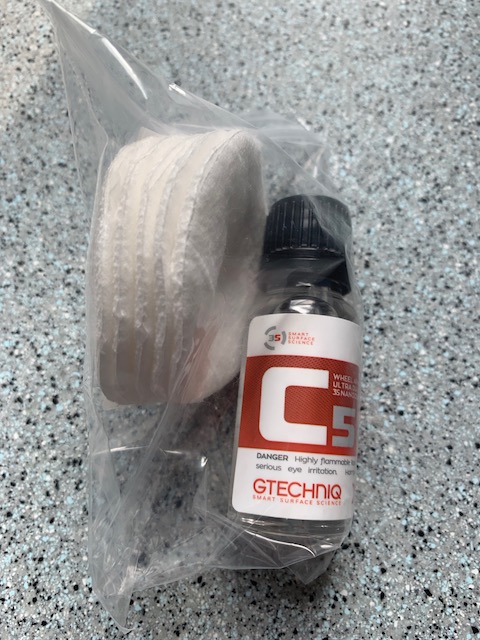
The next step was the application of Gtechniq C5 Wheel Armour. I've used the product many times, and feel for the money its fantastic value, it's also really easy to apply. The product comes in a small bottle which you drip feed onto the supplied applicator pads, and then wipe the product all over the alloy wheel. It's super easy to work, and you can achieve a consistent thin coat without any trouble. As a product, it doesn't really stop brake dust accumulations, but the brake dust just washes away with a gentle rinse with plain water. it's brilliant.


As per normal I applied the product all over the wheel, including inside the barrel and without the centre cap in place. The wheel was then left to dry again.

Now this bit might be a little controversial! Tyre wall lettering.
I'd previously seen a blog from another 7 owner in which he'd painted the sidewall lettering on his 7's tyres, and I personally thought it looked great. I've never attempted to paint the letters on a tyre but decided I would give it a go on the 7. So some days earlier I'd purchased 4 tyre paint sticks from Demon Tweaks (https://www.demon-tweeks.com/uk/demon-tweeks-paint-sticks-244278/) avoiding any fleabay rubbish, well that's the idea anyway. Now that the tyre was cleaned it was time to start painting.
It's not a difficult process and I think the Avon tyres with their raised lettering makes it feel slightly easier as you can find the edge of the letters without going beyond and making a mess. It is however slow and takes time. The application of paint can't be rushed and you have to build up coats to completely hide the tyre underneath. If you try and add paint to a coat which isn't completely dry the existing coat will break up.

Given this, there's lots of waiting for the paint to dry. It's worth the effort mind, well I think so.

So far I've done just the one wheel, partly because the weather is so good at present and I want to drive the 7. Also it takes 12 hours for the C5 to cure. Yes the car looks a little odd with only one wheel detailed, but I'll get there, the other 3 will follow, it's bound to rain soon!

Hope you enjoyed this one, leave me a comment and let me know what you think about the lettering.


Comments